
At Eagle Equipment, we’ve seen firsthand how the right tools and techniques can transform a workshop’s efficiency and safety. A tire changer machine is a cornerstone of any professional garage, but knowing how to use it correctly is paramount. We’re here to share our expertise and walk you through the process, ensuring every tire change is smooth and safe.

Preparation and Loosening
Before the vehicle is lifted, it’s crucial to break the lug nuts loose. This initial step ensures that you’re not wrestling with stubborn nuts while the wheel is in the air, which can be unstable. Using a lug wrench or an impact gun, give each nut a partial turn. This preparation prevents issues down the line and sets the stage for a much safer and quicker tire change once the vehicle is properly secured on a lift.

Mounting the Wheel on the Changer
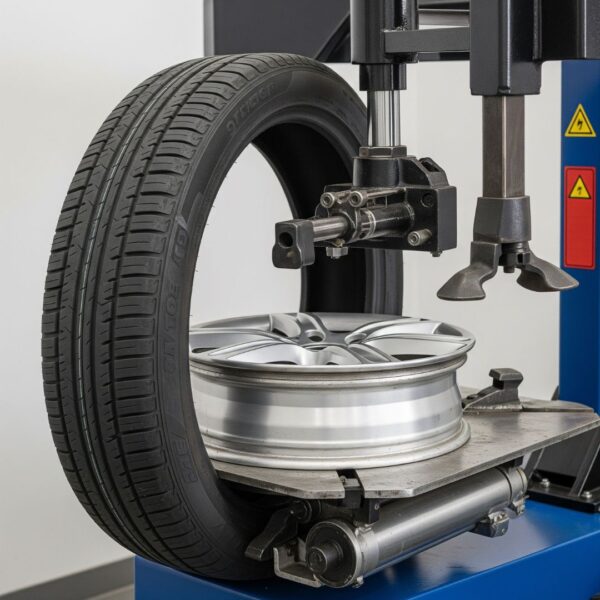
Once the wheel is off the vehicle, the next step is to secure it onto the tire changer. It’s essential to properly clamp the wheel to the machine’s turntable, whether from the inside or the outside, depending on the wheel’s design. This ensures the wheel is held firmly in place and won’t be damaged during the tire removal process.
Breaking the Bead
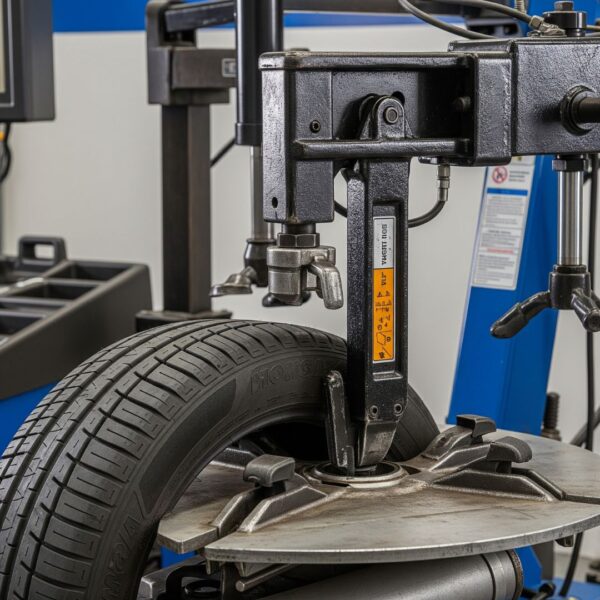
With the wheel secured, it’s time to break the tire’s bead from the rim. The bead is the edge of the tire that sits tightly on the wheel, and it needs to be loosened on both sides. Position the machine’s bead breaker shoe on the tire’s sidewall, close to the rim, and activate it. You’ll hear a distinct pop as the bead releases. We advise rotating the tire and repeating this in a few spots to ensure it’s fully detached.
Removing and Installing the New Tire
Now, you can use the machine’s mounting/demounting tool to pry the old tire off the rim. Once removed, lubricate the bead of the new tire and the rim. Carefully use the mounting arm to guide the new tire’s bead over the rim, first the bottom and then the top.
The techniques we’ve shared are fundamental to the work performed in countless shops every day. Our commitment at Eagle Equipment is to not only provide the tools for the job but also the knowledge to use them with confidence. Contact us today to learn more about how we can help you enhance your workshop’s capabilities.